
INSTALLATION AND USER GUIDE
Smart City Guide
of the Municipality of EpidavrosYour business
on Discover Epidavros
The Municipality of Epidavros showcases local businesses through its smart city guide, giving them another place to promote their services online.
With your own business profile, you can present what you offer, publish offers and keep your details up to date. Give residents, visitors and potential customers more reasons to get to know you.
Where would you like to start? ↓
An opportunity to promote your business
Help people discover you
A presence in the guide and on the map helps people looking for local businesses find you.
Show what you offer
Present your business, services and products with a description, photos and up-to-date content.
Make it easy to contact you
Provide clear contact details, the correct map location and current opening hours to make the next visit easier.
Choose the section you need and select «+» to see the detailed steps. Follow the instructions for your device and web browser.
The appearance, position and name of some options may vary slightly by device, language or software version. These instructions describe the basic process. To close a section, select «−».
Screenshots have been adapted into English for this guide. The live application may still display Greek labels. Geographic names on the source maps are retained.
CREATE AND MANAGE
Your business
on Discover Epidavros
Make use of the opportunity the Municipality offers to promote your business. A business account lets you create, expand and update your business presence in the guide.
Basic presence
from Google Maps
The map may already include your business with basic information from Google Maps.
The Google Maps URL and Google Knowledge URL links, where available, open the relevant external page for more information.
A presence
you manage yourself
Create an account and a new listing. Add a description, photos, opening hours, contact details and offers.
After approval, the new listing appears as a new marker on the map.
✓Before you startHave your basic information and images ready.
- Email: an email account you can access, to set and reset your password.
- Business details: business name, tax identification number (AFM), contact person, description, address and telephone number.
- Location: the exact coordinates of your business, as explained in step 5.
- Content: a cover photo, business logo, photos and actual opening hours.
- Optional: website, business social media accounts, videos and panoramic images.
WHAT YOUR BUSINESS PROFILE OFFERS
Your business.
Your up-to-date presence.
Your account gives you tools to present your business and help people learn about you, contact you or visit you.
Show what makes you stand out
Set your description and category. Present your products and services with photos so visitors know what they can find at your business.
Make getting in touch easy
Update your telephone number, email, website, social media and opening hours. Help people contact you and plan their visit.
Promote your offers
Publish offers, discounts or special product and service packages, with clear validity dates and terms. The Offers section gives the public another way to discover what you provide.
Help people find you
Set the correct business location. After approval, your new listing appears on the map and in the business directory, helping people searching your category find you.
Find people to join your team
Post job vacancies with a description, requirements and contact details. Use the guide to let interested applicants know about your staffing needs.
Keep your profile current
Return to your account to change details, add photos and update your description. Keep your presence in line with what your business offers today.
Create your account and use these features. Follow the steps for a new business profile. The listing is published after administrator approval.
THE FIRST STEP FOR YOUR PROFILE
Give your business
a presence of its own.
Select Register / Sign in or scan the account QR code. Create an account, then complete your new business profile. Detailed instructions follow below.
Register / Sign inOpen account sign-in / registration
1Create your accountUsername, contact details and registration request.
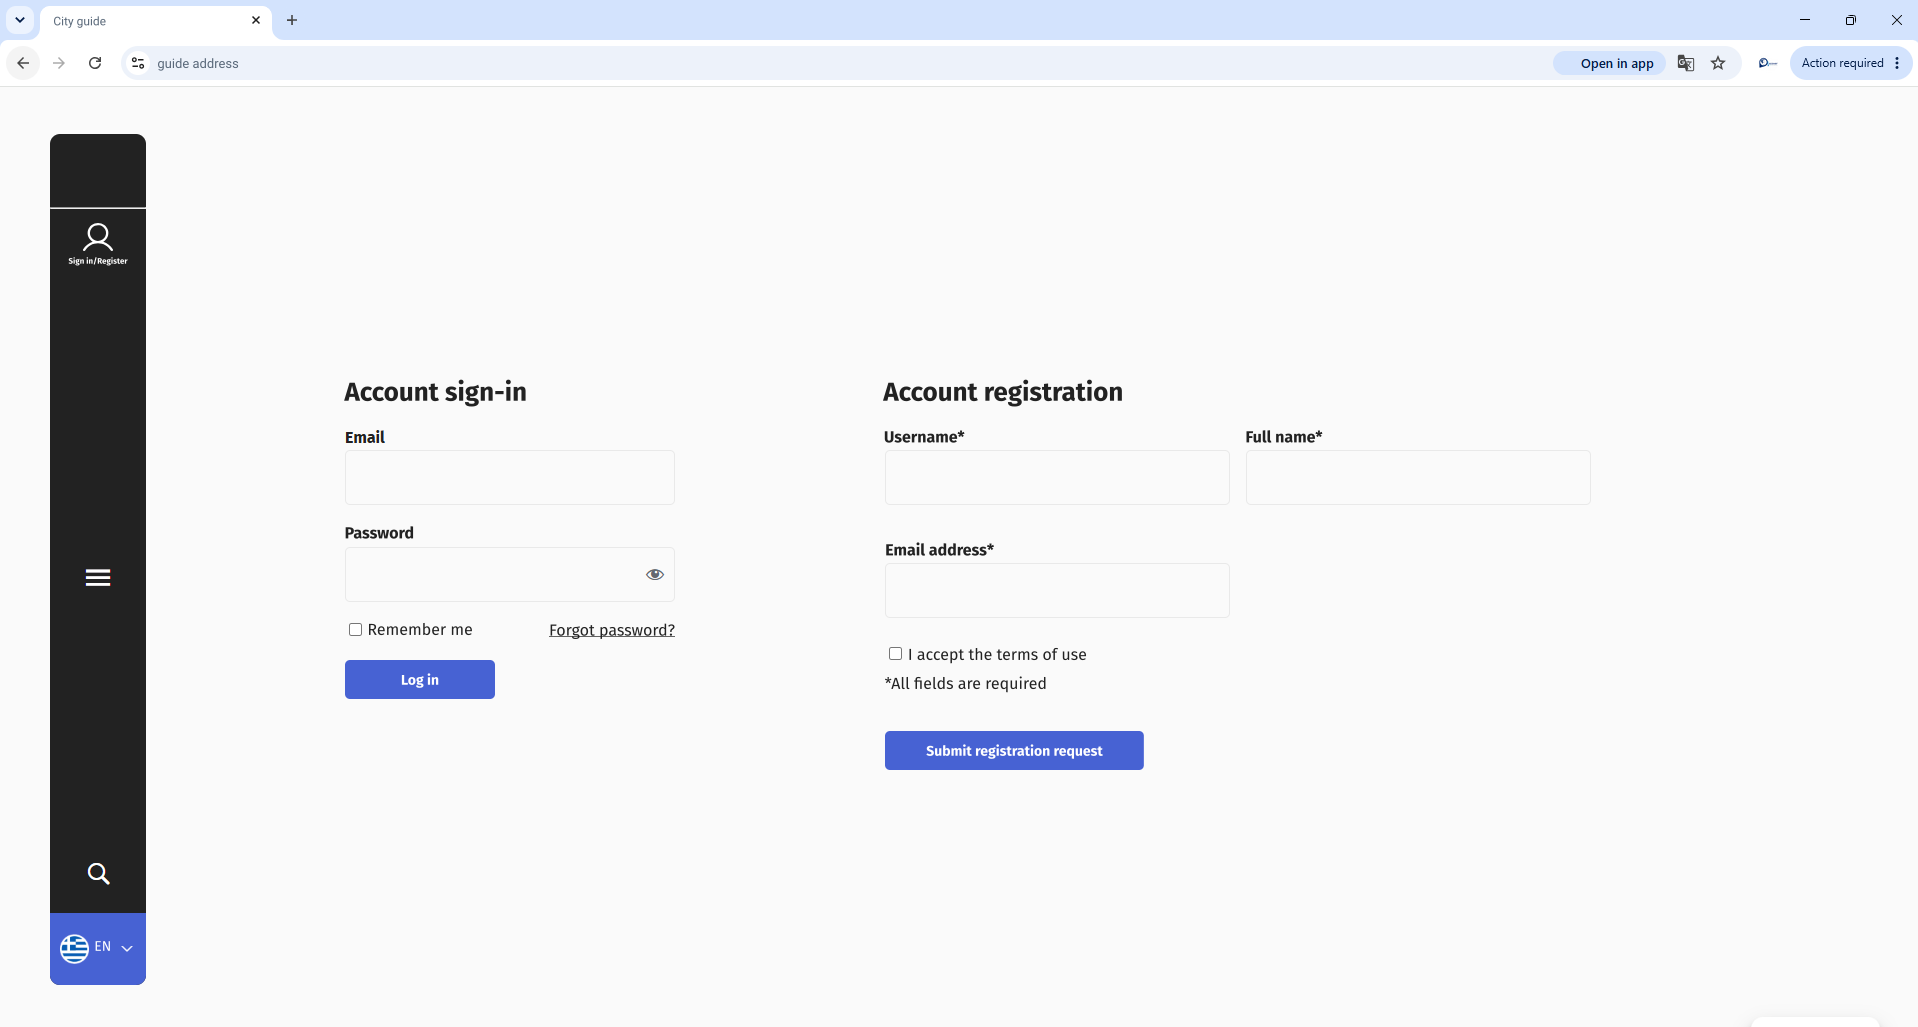
The initial account screen
The same page shows Account sign-in on the left and Account registration on the right. For a new account, complete the registration form. If you already have an account, use the sign-in form.
Open registration
- Open the account page using the button or the Sign in / Register icon in the guide.
- Find the heading Account registration. On a computer, it is to the right of the sign-in form. On mobile, it may be further down the page.
- If you already have an account, use Account sign-in with your email and password.
CORRESPONDING SCREENS

Complete the five items
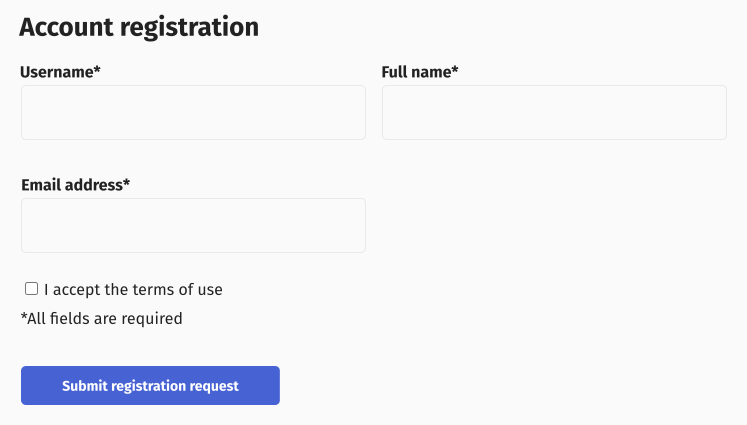
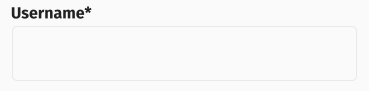
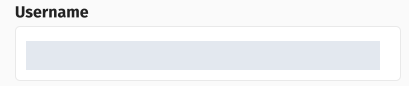
- Username: choose the name that identifies your account.
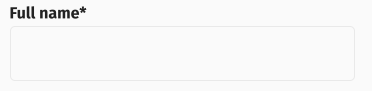
- Full name: enter your full name.
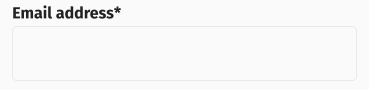
- Email address: use an email account you can access. You will receive the link to set your password there.
- Terms of use: read them and tick the acceptance box if you agree.
- Select Submit registration request.
CORRESPONDING SCREENS

Wait for the email
- Wait for the message saying you will be notified about your registration.
- Open the email account you provided. Check Inbox and Junk / Spam.
- When the password creation message arrives, continue to step 2. If it does not arrive, check the email address on your request and ask for help through Contact in the guide.
Check your inbox and junk mail folder.
CORRESPONDING SCREENS

2Open the email and sign inSet your password and sign in for the first time.
Open the password creation message
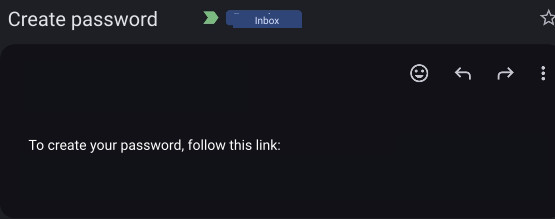
- Find the email with the subject Create password in the email account you used to register.
- Select the personal link in the message. The page that opens is headed Create password.
- Complete the form described below.
Open the personal link in the message.
Personal linkCORRESPONDING SCREENS
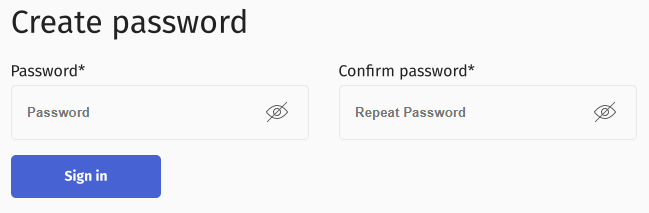
Enter the same password twice
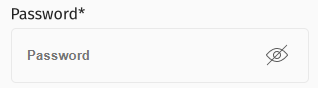
- In Password enter your new password.
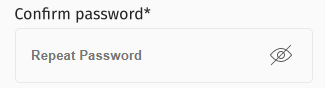
- In Confirm password enter exactly the same password again.
- Select Sign in.
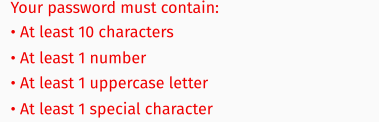
The form shown requires at least 10 characters, one number, one uppercase letter and one special character. Follow the requirements displayed on your own screen.
CORRESPONDING SCREENS

Check any requirements displayed
The red text lists the password requirements. Check that you meet them and that both fields match.
CORRESPONDING SCREENS
Sign in to your account
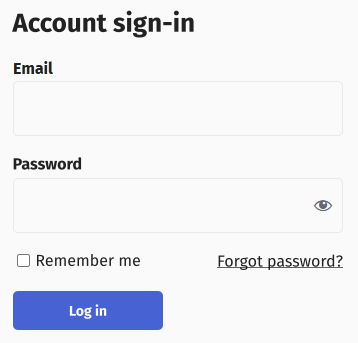
- In Account sign-in enter the email address you used to register.
- Enter the password you created. The eye icon shows or hides what you type.
- Select Log in.
CORRESPONDING SCREENS
3Open the business listingYour list and the New listing option.
The My listings screen
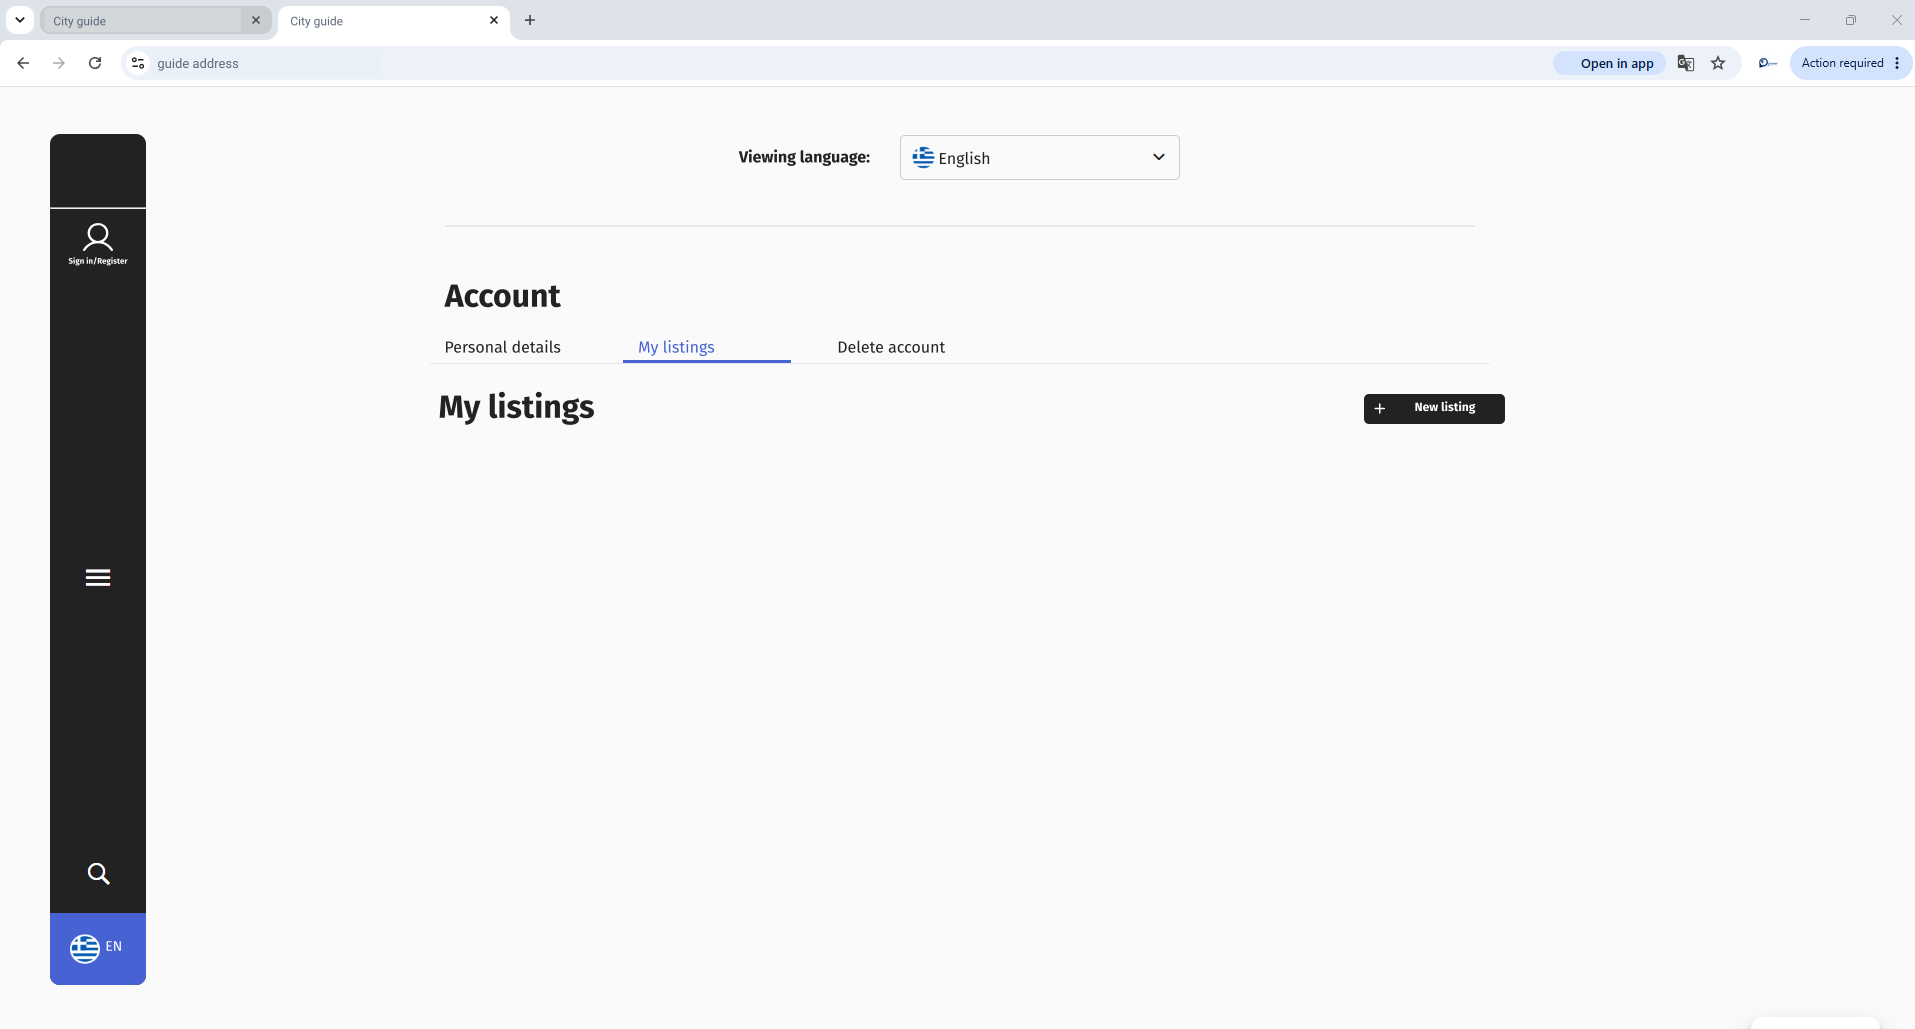
Open the My listings tab. The New listing button is on the right, on the same line as the section heading.
Open My listings
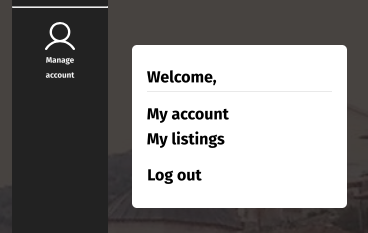
After signing in, select the user icon and choose My listings. The same option is also available as a tab in your account.
CORRESPONDING SCREENS
Check your list and get started
- In the tab My listings, view the listings you created with this account.
- For your new business profile, select + New listing at the top right. The Business information form will open.
- If you have already submitted this profile and it appears in your list, select Edit from the three-dot menu on its row.
CORRESPONDING SCREENS

4Complete your business profileImage, business name, tax identification number, description, contact person and address.
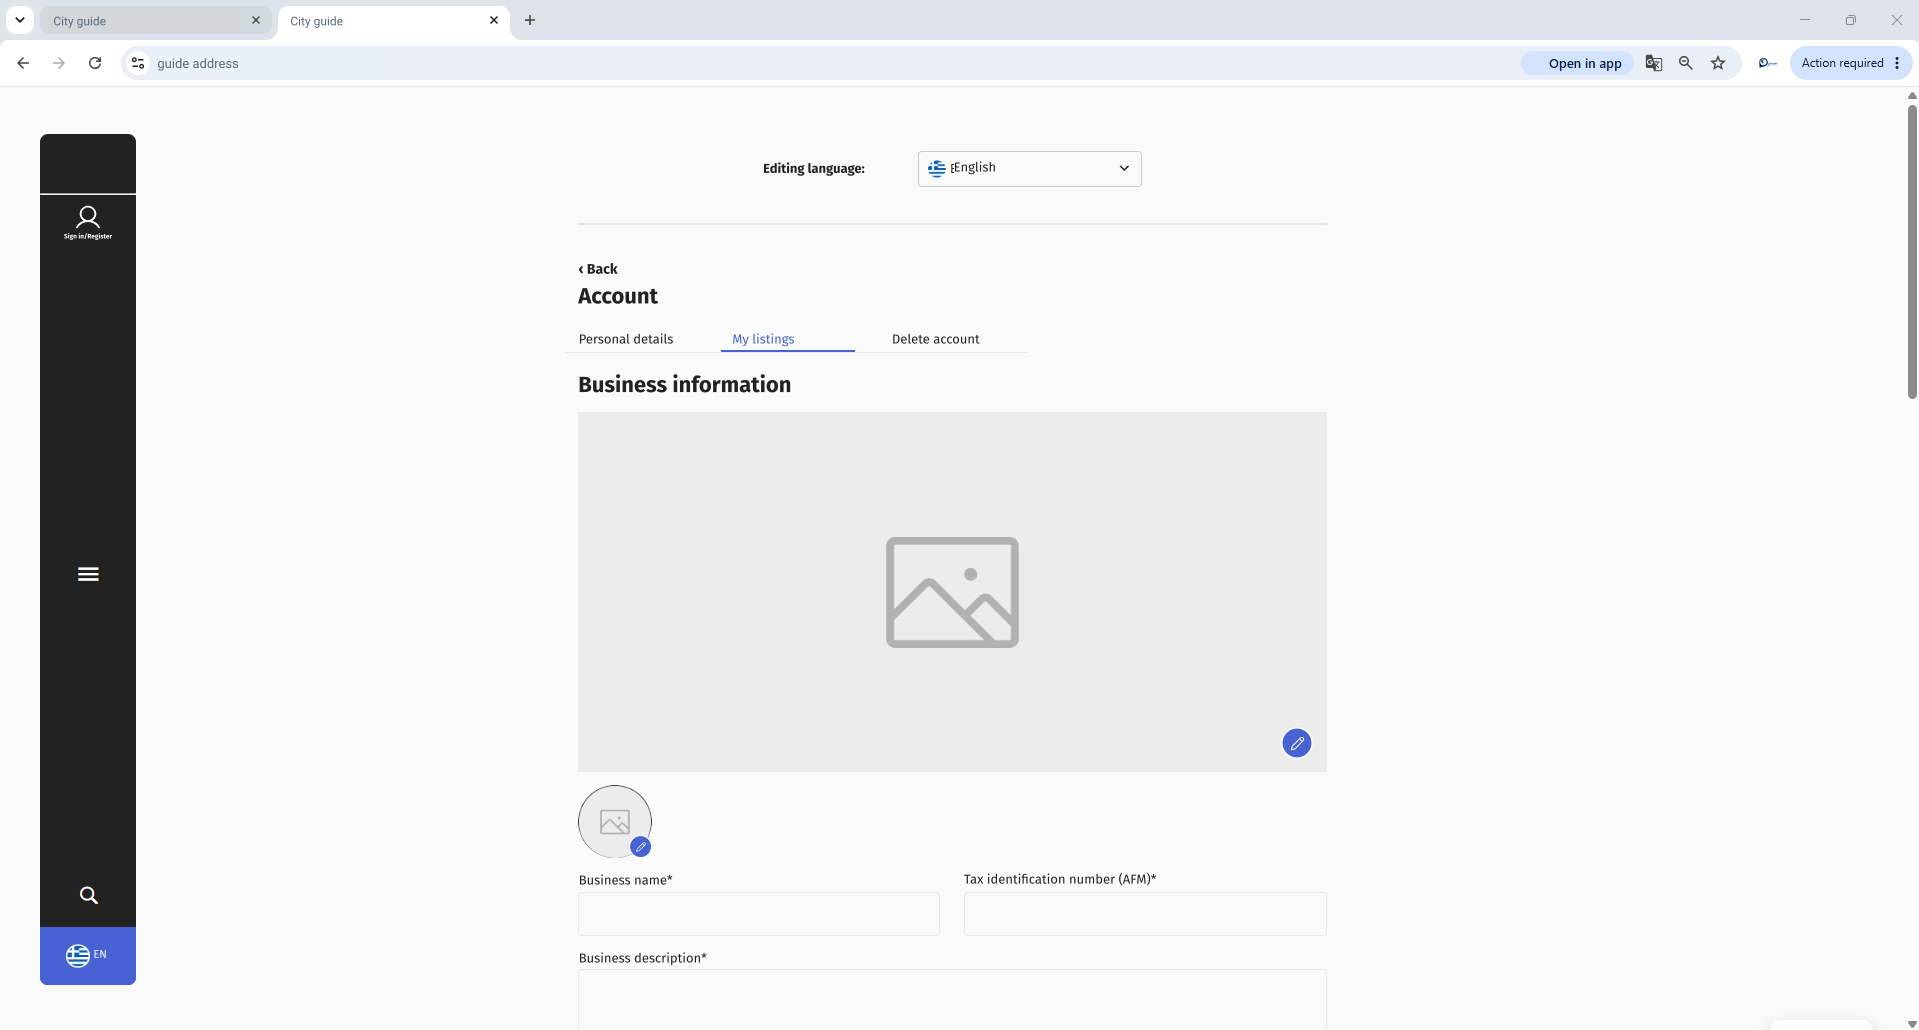
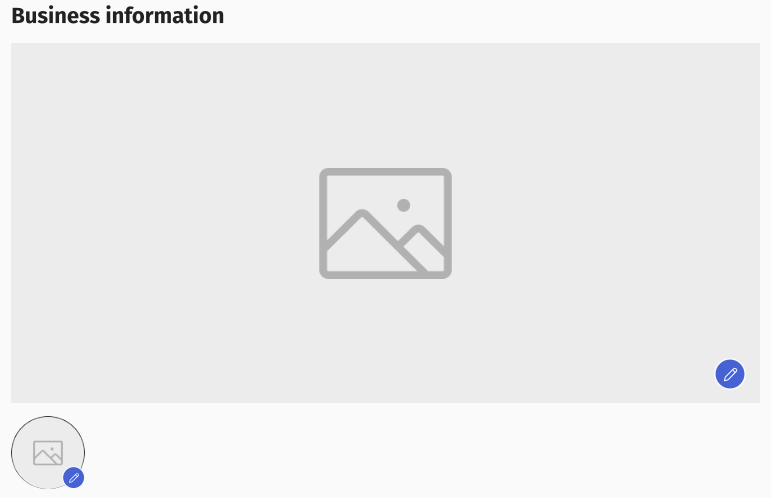
The top of the business form
The cover image and business logo are at the top of the form. Information fields follow below. Scroll down to complete them.
Business cover image and logo
- In the large image area, select the pencil at the bottom right and choose the cover image from your device.
- In the small circular area, select the second pencil and choose your business logo.
- Wait for each image to appear in the correct position. Choose a clear photo of your premises, products or activity.
CORRESPONDING SCREENS
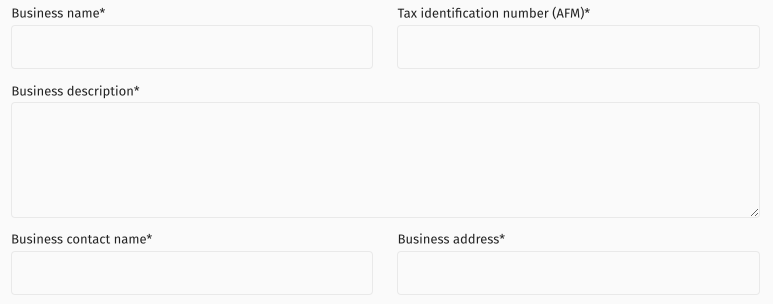
Basic details
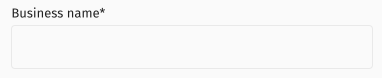
- Business name: the full name you want people to find you by.
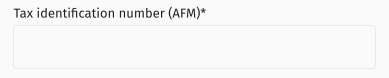
- Tax identification number (AFM): the tax identification number of the business you represent.
- Business description: what you offer, whom you serve and what defines your business.
- Business contact name: the person to contact.
- Business address: street, number and area, where applicable.
CORRESPONDING SCREENS



5Set your location, contact details and categoryCoordinates, telephone number, website and social media.
Find the correct point on the map
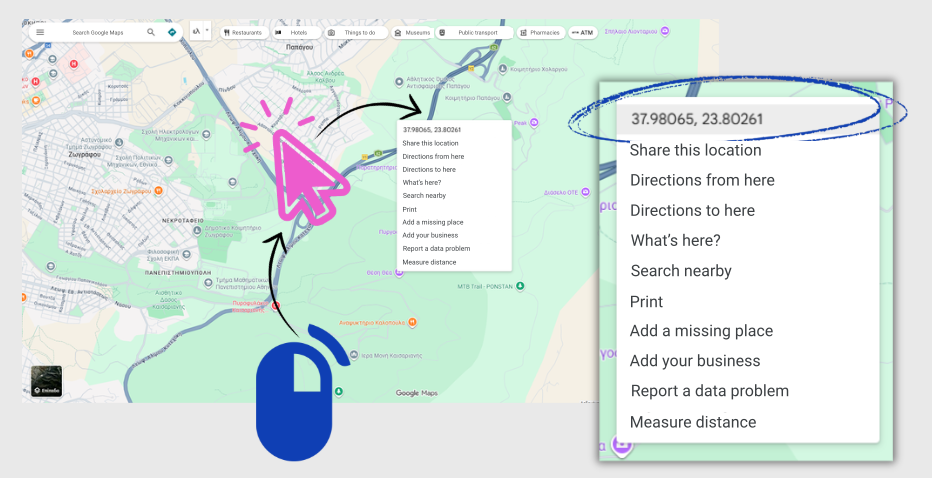
- Open Google Maps on your computer and find the exact location of your business.
- Use a right-click on the point. Two numbers appear on the first line of the menu.
- Select the numbers to copy them.
CORRESPONDING SCREENS
Enter the coordinates
- Latitude: the first number, which is the latitude.
- Longitude: the second number, which is the longitude.
For the example shown: 37.98065 in Latitude and 23.80261 in Longitude. Enter your own coordinates, keeping the decimal point.
Do not paste both numbers into a single field. Check that latitude and longitude are not reversed. The example numbers are not your business location.
CORRESPONDING SCREENS



Contact details and category
- Business website: the full address of your website, if you have one.
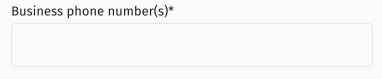
- Business telephone numbers: the number you use for customer enquiries.
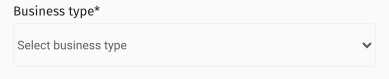
- Business type: open the list and choose the category that represents your business.
CORRESPONDING SCREENS


Social media
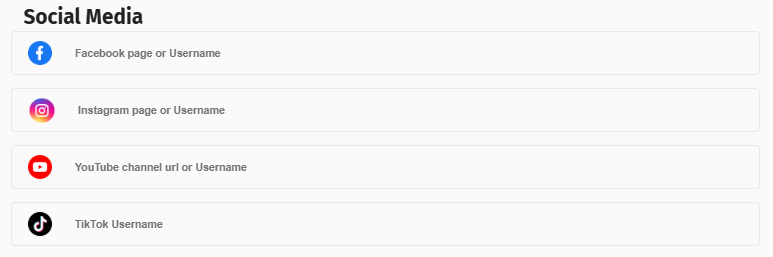
Enter your business profiles in the corresponding fields for Facebook, Instagram, YouTube and TikTok. Use the page address or username as indicated by each field. If you do not have a profile, leave that field blank.
CORRESPONDING SCREENS
Official instructions: Find coordinates in Google Maps.
6Add opening hours and visual contentOpening days, photos, videos and panoramic images.
Enter your opening hours
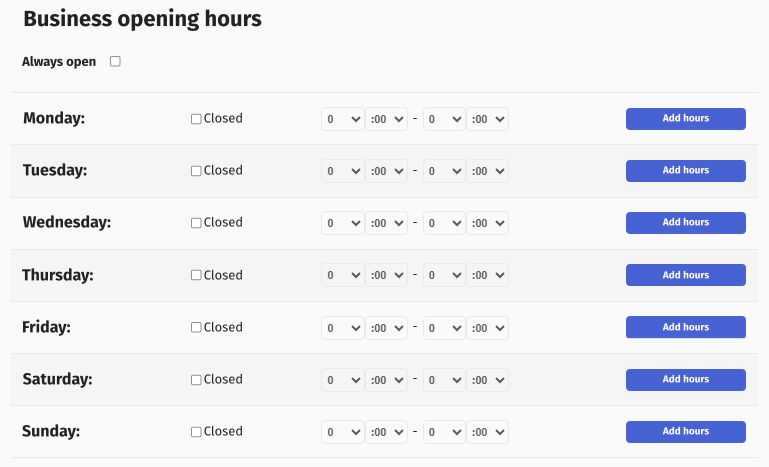
- Choose Always open only if this applies to your business.
- For a day when you are not open, choose Closed.
- For each working day, set the opening and closing hours and minutes. For example: 09:00 to 14:00.
- For a second time slot on the same day, select Add opening hours, for example, 17:00 to 21:00.
CORRESPONDING SCREENS




Add photos
- In the Photos section, select + Upload file.
- Choose the photo on your device and wait for it to appear in the form. Repeat for the remaining images.
- Check the image orientation and clarity. Avoid uploading many nearly identical photos.
The screenshot shown accepts JPG and PNG files up to 10 MB. Follow the limits displayed on your own form.
CORRESPONDING SCREENS

Videos and 360° photos
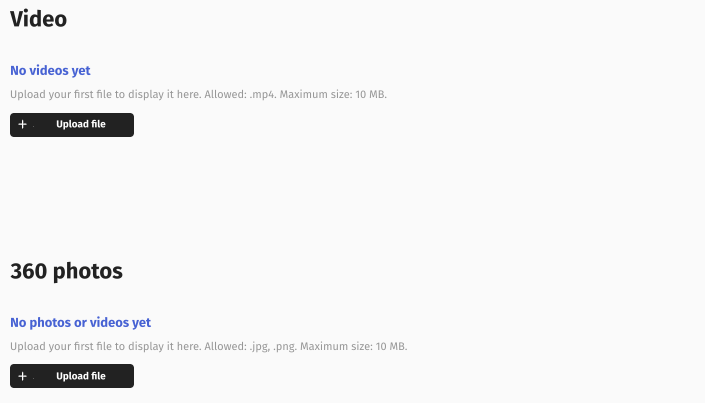
Each section has its own + Upload file button. Upload videos in the Videos section and suitable panoramic images in the 360° photos section.
In this example, the video section accepts MP4 up to 10 MB. Check the format and size required by each section.
CORRESPONDING SCREENS


7Submit and track your listingCheck fields, confirm receipt and monitor review status.
Check and submit
- Review the fields marked with an asterisk (*). Check business name, tax identification number, address, telephone number, category and coordinates.
- Make sure the images have loaded and the opening hours are correct.
- At the end of the form, select Submit listing. If a warning appears, return to the incomplete fields, correct them and submit again.
CORRESPONDING SCREENS

Wait for completion
- Wait for the upload to finish. Keep the page open while the loading indicator is displayed.
- Look for the message Thank you for your listing. It confirms that your request has been received for review.
- Select Personal details to return to your account, then open My listings.
The listing has been received for review.
Continue to your listings.CORRESPONDING SCREENS

Track the status
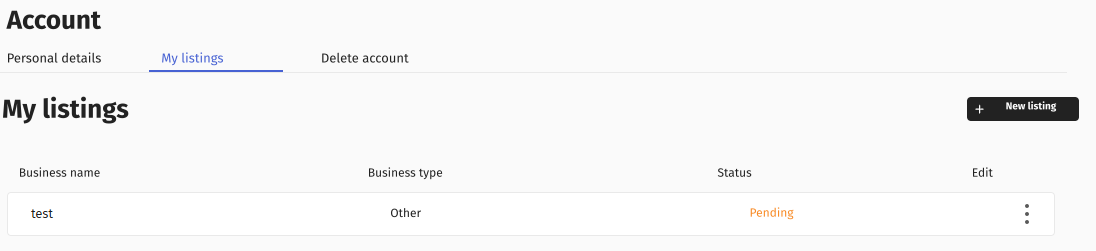
- In your list, find the business row and the column headed Status.
- The label Pending means that review is outstanding. Receipt is not yet approval.
- After approval, the new business profile appears in the guide and as a new marker on the map.
- Open the public map, select your category and check your location and presentation.
The listing is being reviewed.
↓CORRESPONDING SCREENS
8Manage your presenceEditing, language, offers and job vacancies.
Edit your details
- Sign in to your account and open My listings.
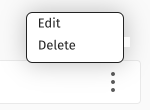
- In the business row, select the three vertical dots and then Edit.
- Change what is needed, such as the description, telephone number, images or opening hours, then finish using the submit button.
- Check the status in your list again and, once the changes are published, check the public profile.
CORRESPONDING SCREENS
Check the language
There is a language selector above the list or form. Check whether you are viewing or editing in Greek or English. Changing the language does not by itself confirm that the content has been translated.
If the listing disappears after changing language, return to the language in which you submitted it and check again.
CORRESPONDING SCREENS

| In Greek | In English |
|---|---|
| My listings | My listings |
| New listing | New point |
| Pending | Pending |
Use the promotional features
With a business account, you can also expand your presence with offers and job vacancies in the guide’s public sections.
- For an offer, prepare a clear title, description, validity period and basic terms.
- For a job vacancy, prepare a title, duties, requirements and contact details.
- Use the relevant form available in your account. If you cannot find it, ask for guidance through Contact in the guide.
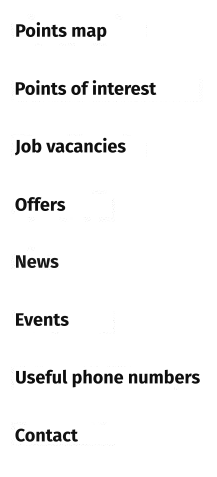
Published items appear in the corresponding menu sections. The image below shows these public sections.
What you offer, until when and on what terms.
Title, description and contact method.
Public sections of the guide.CORRESPONDING SCREENS
Your account in practice.
Update details, reset your password and delete content when needed.
APersonal details and password changesFor users who are already signed in.
Change your personal details
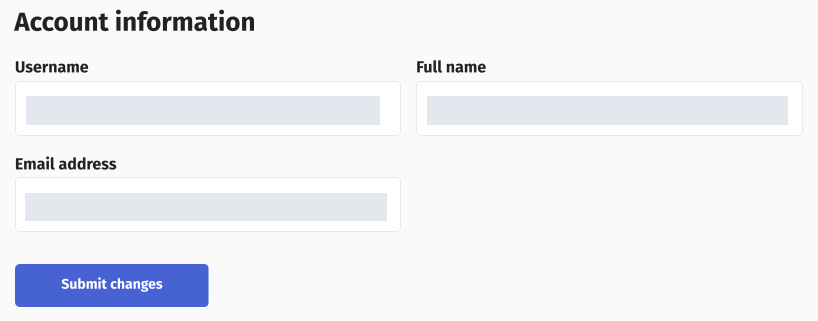
From the user menu, open My account → Personal details. Update the editable fields and select Submit changes. Business details are changed by editing the listing.
CORRESPONDING SCREENS
Change your password
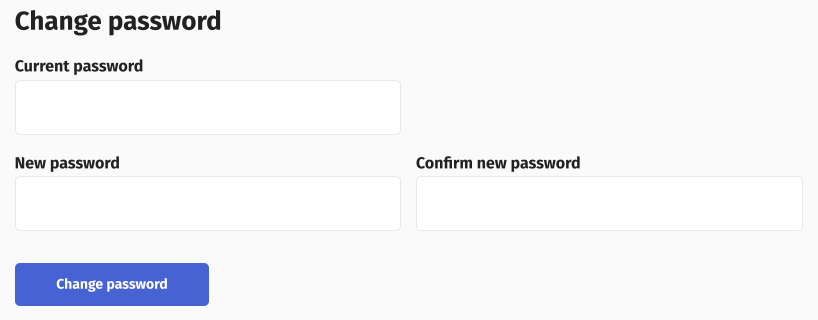
- Enter your current password in Current password.
- Enter the new one in New password and repeat it in Confirm new password.
- Select Change password.
CORRESPONDING SCREENS
BForgot your password?Reset it using the email address you registered with.
Request a reset
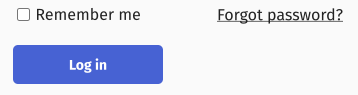
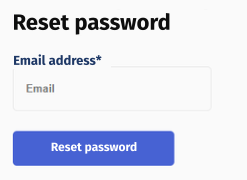
In the sign-in form, select Forgot your password?. On the new screen, enter your registration email and select Reset password.
CORRESPONDING SCREENS
Follow the email instructions
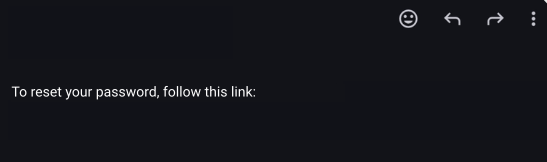
Open the personal link in the password reset email. Enter your new password twice in the Create password form and select Sign in, as in step 2.
Open the email and follow the personal link.
Personal linkCORRESPONDING SCREENS
Sign in with your new password
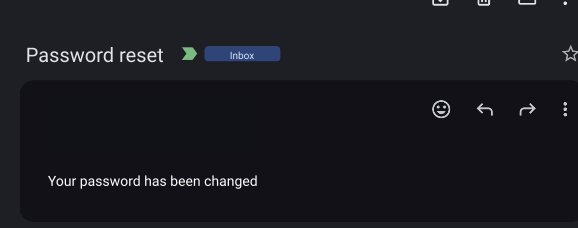
The email Your password has been changed confirms the change. Return to sign-in and use your new password from now on.
Return to sign-in. Use your new password.
CORRESPONDING SCREENS
CDelete a listing or accountTwo different actions, depending on what you want to remove.
Delete one listing
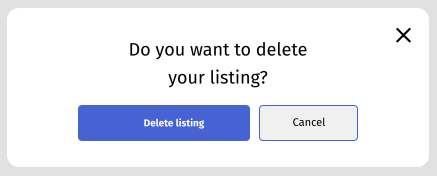
In My listings, open the three-dot menu for the relevant business and choose Delete. In the confirmation window, select Delete listing only if you want to remove that entry. To go back, select Cancel.
Do you want to delete your listing?
Delete listingCORRESPONDING SCREENS
Delete the entire account
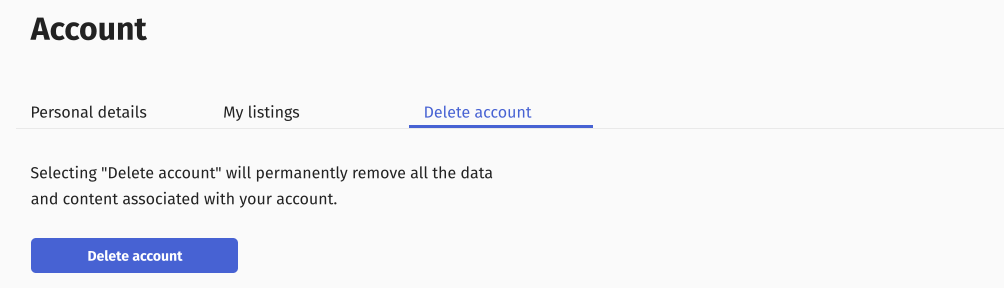
Open the tab Delete account. The screen states that the account’s data and content will be lost. Select the button with the same name only if you want to delete the entire account.
This action affects your account’s data and content.
Delete accountCORRESPONDING SCREENS
Completion confirmation
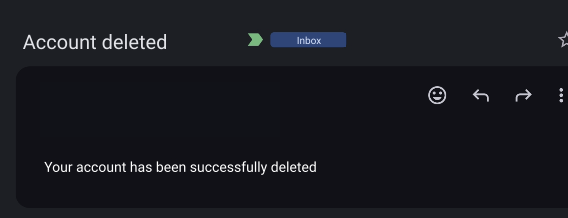
The email Your account has been successfully deleted notifies you that deletion is complete.
Your account has been successfully deleted.
CORRESPONDING SCREENS
INSTALLATION AND QUICK ACCESS
The guide
on your screen.
Install Discover Epidavros as a web app to open it easily from your device. The QR code opens the app in your browser; then follow the installation steps.
Install separately on each device. You do not need to create a business account just to browse. Choose your device below.
AAndroid phone or tabletUsing Google Chrome.
Open the guide in Chrome
- Open the guide’s link in Google Chrome on your device.
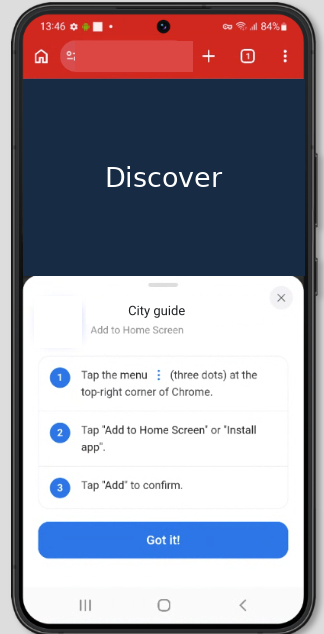
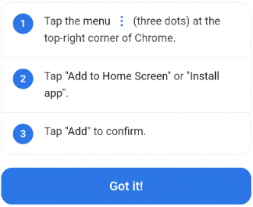
- If the help message «Add to Home Screen» appears, read it. Select «Got it!» or the × to close it.
- Continue to the Chrome menu. This message explains the process and does not install the app by itself.
The message describes the installation steps.
Got it!CORRESPONDING SCREENS
Open the menu and choose installation
- Select the three dots ⋮ in Chrome: More.
- Choose Install and create shortcut and then Install. In an older layout, look for Add to Home screen or Install app.
- In the window that opens, check the guide’s name and finish with Install or Add, depending on the option displayed.
- Open the guide using the new icon on the Home screen or in the app list.
CORRESPONDING SCREENS

If your device is in English
| In Greek | In English |
|---|---|
| More ⋮ | More ⋮ |
| Install and create shortcut | Install and create shortcut |
| Add to Home screen | Add to Home Screen |
| Install app | Install app |
| Install | Install |
| Add | Add |
BiPhoneUsing Safari.
Open the guide in Safari
- Open the guide in Safari on your iPhone.
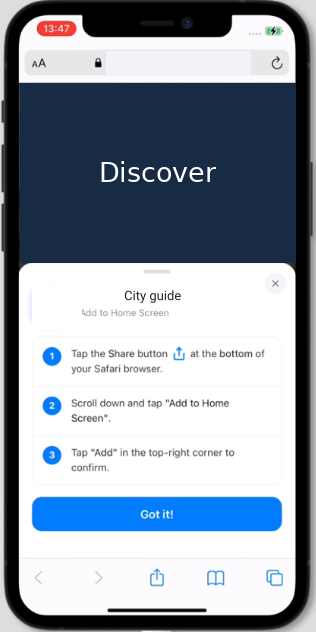
- If the help message «Add to Home Screen» appears, select «Got it!» or the × to close it.
- Find Share: the square with an upward arrow. In the actual image below, it is in the middle of the bottom bar.
CORRESPONDING SCREENS
Add the icon to the Home Screen
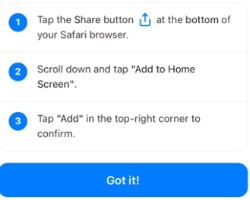
- Select Share. If it is not immediately visible, first open More and then Share.
- Scroll down the list and choose Add to Home Screen.
- Enable Open as Web App, if displayed, and select Add.
- Return to the Home Screen and open the guide using the new icon.
CORRESPONDING SCREENS

If your device is in English
| In Greek | In English |
|---|---|
| More | More |
| Share | Share |
| Add to Home Screen | Add to Home Screen |
| Open as Web App | Open as Web App |
| Add | Add |
| Edit Actions | Edit Actions |
CiPadUsing Safari.
Add the guide on iPad
- In Safari on your iPad, open the guide and select Share on the toolbar.
- Open More, where displayed, and choose Add to Home Screen.
- Enable Open as Web App, if displayed. Confirm with Add.
- Open the new icon on your iPad Home Screen. Adding it on iPhone is a separate process.
If the options on your device differ, consult the official help below for the relevant software.
On iPad, find Share on Safari’s toolbar and follow the steps above.
If your device is in English
| In Greek | In English |
|---|---|
| Share | Share |
| More | More |
| Add to Home Screen | Add to Home Screen |
| Open as Web App | Open as Web App |
| Add | Add |
DComputer with Google ChromeInstructions for Chrome on Windows or Mac.
Find the installation option
- Open the guide in Google Chrome on your computer.
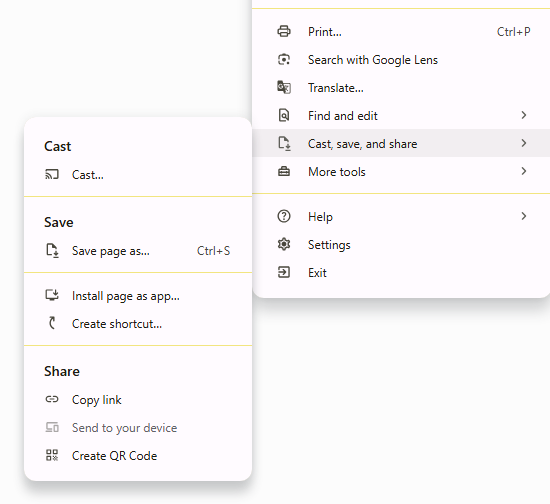
- Select the ⋮ menu at the top right: More. Choose Cast, save, and share.
- In the submenu, choose Install page as app….
- If you already see the Install icon in the address bar, you can start by selecting it.
CORRESPONDING SCREENS


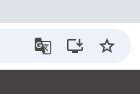
Confirm and open the guide
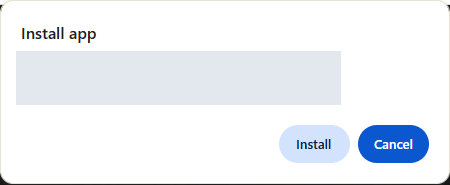
- Check that the installation window refers to the guide you just opened. The name may be the one configured for the Municipality’s app.
- Select Install. The guide opens in its own window.
- To find it again in Chrome, type chrome://apps in the address bar and open the app.
CORRESPONDING SCREENS
If your device is in English
| In Greek | In English |
|---|---|
| More ⋮ | More ⋮ |
| Cast, save, and share | Cast, save, and share |
| Install page as app… | Install page as app… |
| Install | Install |
EComputer with Microsoft EdgeUsing Microsoft Edge.
Install the guide through Edge
- Open the guide in Microsoft Edge.
- In the … menu, open Settings and more and then More tools.
- Choose Apps and then Install this site as an app.
- Check the name and confirm with Install. If you see an installation icon in the address bar, you can also start there.
- To find and manage Edge apps, type
edge://appsin the address bar.
If the options on your device differ, consult the official help below for the relevant software.
If your device is in English
| In Greek | In English |
|---|---|
| Settings and more … | Settings and more … |
| More tools | More tools |
| Apps | Apps |
| Install this site as an app | Install this site as an app |
| Install | Install |
FMac with SafarimacOS Sonoma 14 or later.
Add the guide to the Dock
- On macOS Sonoma 14 or later, open the guide in Safari.
- From the menu bar, choose File and then Add to Dock. The option may also appear under Share.
- Check the name and confirm with Add.
- Open the guide using its Dock icon. On older macOS versions, continue using it in your browser.
If the options on your device differ, consult the official help below for the relevant software.
If your device is in English
| In Greek | In English |
|---|---|
| File | File |
| Share | Share |
| Add to Dock | Add to Dock |
| Add | Add |
?I cannot find the button or iconQuick checks that may help.
- Check that you opened the guide in Chrome, Safari or Edge as described in the relevant section. If the link opened inside a messaging or social media app, copy it into your browser.
- If you only see «Got it!», first close the help message. Then open your browser’s menu.
- If a guide icon already exists, open it. The installation option may have been replaced by an option to open the app.
- If only a shortcut is offered, you can use it for quick access.
- If no action is available, continue through the guide’s link and consult your device’s official help.
BROWSING AND EVERYDAY USE
Find what
interests you.
Discover local businesses and places. See where they are, find information and follow their available links.
1Map and categoriesFrom the menu to the place you are looking for.
Open the map from the menu
The main menu is shared by all Discover guides. Use the same options regardless of the municipality. Posts and places relate to the area you are visiting.
- Open the guide from its link or from the installed app’s icon.
- Select the main menu ☰ and choose Map of points.
- To browse listings, also open Points of interest.
CORRESPONDING SCREENS
- Map of points
- Map markers and category filters.
- Points of interest
- Browse published listings.
- Job vacancies
- Posts for available jobs.
- Offers
- Business promotions.
- News
- News posts.
- Events
- Event information.
- Useful phone numbers
- Service telephone numbers and useful contacts.
- Contact
- Contact and support details.
Choose a category and marker
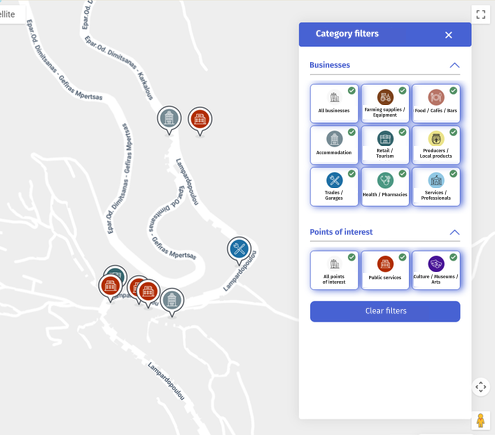
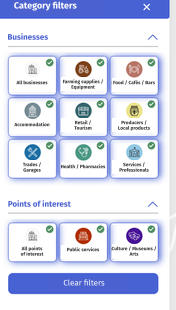
- On the map, open Category filters. Choose the category you are interested in, such as dining, accommodation or services.
- Select a marker to view the related listing and available information.
- To start a new search, use Clear filters and select another category.
CORRESPONDING SCREENS
2Business details and external linksGoogle Maps, Google Knowledge and the full business profile.
Open a business’s information
- At the point you selected, read the business name and details. Content varies by listing.
- If there is a Google Maps URL link, open it to view the business on Google Maps. From there, you can get directions.
- If there is a Google Knowledge URL link, open it for the business’s information page on Google.
- A full business profile includes the additional information submitted by the owner, such as a description, photos, contact details and opening hours.
The link layout may vary by listing. Choose the available Google Maps or Google Knowledge link according to the information you need.
The original Google Maps point and the new approved business profile may exist separately on the map. For content managed by the business owner, look for the full profile.
3Other sections of the guideContent and useful information for everyday life.
Offers, job vacancies and news
- From the menu, open Offers for available promotions. Check each offer’s description, validity period and terms.
- Choose Job vacancies for available posts. Read the requirements and contact method.
- In News and Events, view the published posts.
- For support details, open Contact. Content availability depends on published posts.
CORRESPONDING SCREENS
Discover Epidavros. Your place. Your business. On your device.
